


A residential radon reduction system depends heavily on the fan that creates negative pressure beneath the building. Whether a contractor is installing a new system or replacing an aging fan, choosing the right equipment involves more than finding a unit that fits the existing pipe. A properly selected Radon Mitigation Fan Kit should suit the pressure, airflow, piping, operating conditions, and installation requirements of the specific system.
Understand the Fan’s Role in Radon Mitigation
Active sub-slab depressurization works by creating lower pressure beneath a home’s slab than exists inside the living space. This pressure difference helps draw soil gases from beneath the building and route them through a dedicated vent system before they can enter occupied areas.
The fan is responsible for maintaining that negative pressure. Because soil conditions, foundation construction, pipe routing, and suction-point placement vary from property to property, installers should evaluate the system as a whole rather than selecting a fan based on a single specification.
Look at Airflow and Pressure Together
Airflow ratings can be useful, but CFM alone does not tell the entire story.
A radon system may encounter resistance from dense soil, aggregate beneath the slab, elbows in the vent pipe, longer pipe runs, or multiple suction points. The fan must be capable of moving air while overcoming that resistance.
For that reason, contractors should consider the pressure and airflow requirements of the system together. Choosing a larger fan simply because it has a higher airflow rating does not automatically mean it will perform better for the property.
Existing system readings can also provide valuable information when replacing a fan. If the previous installation was performing correctly before the fan failed, matching its operating characteristics can provide a better starting point than choosing equipment based only on pipe diameter.
Match the Fan to the Pipe Configuration
Pipe compatibility affects both installation and system performance.
Before ordering equipment, confirm the diameter of the existing or planned vent piping. Radon systems may use different pipe configurations depending on the building and original installation.
Installers should check the fan’s inlet and outlet dimensions as well as any included couplers or adapters. A fan designed around 4-inch piping, for example, may require the proper transition when connecting to a 3-inch system.
Checking these details before arriving at the jobsite can reduce unnecessary fittings, installation delays, and connection problems.
Choose Equipment Rated for Continuous Operation
Unlike many household ventilation fans that run only when needed, a radon mitigation fan normally operates continuously. The equipment should therefore be designed and listed for that type of service.
Review the manufacturer’s electrical requirements, safety listing, operating environment, and installation instructions before installation.
For professional installers, documented specifications are particularly important. Clear product information makes it easier to verify whether a fan is suitable for the planned application and gives homeowners useful records for future service or replacement.
Consider Noise and Vibration
A radon fan may operate around the clock, so noise deserves attention during both equipment selection and installation.
Fan design is only one factor. Poorly supported piping, rigid connections, contact with structural surfaces, and incorrect mounting can transfer vibration through the building.
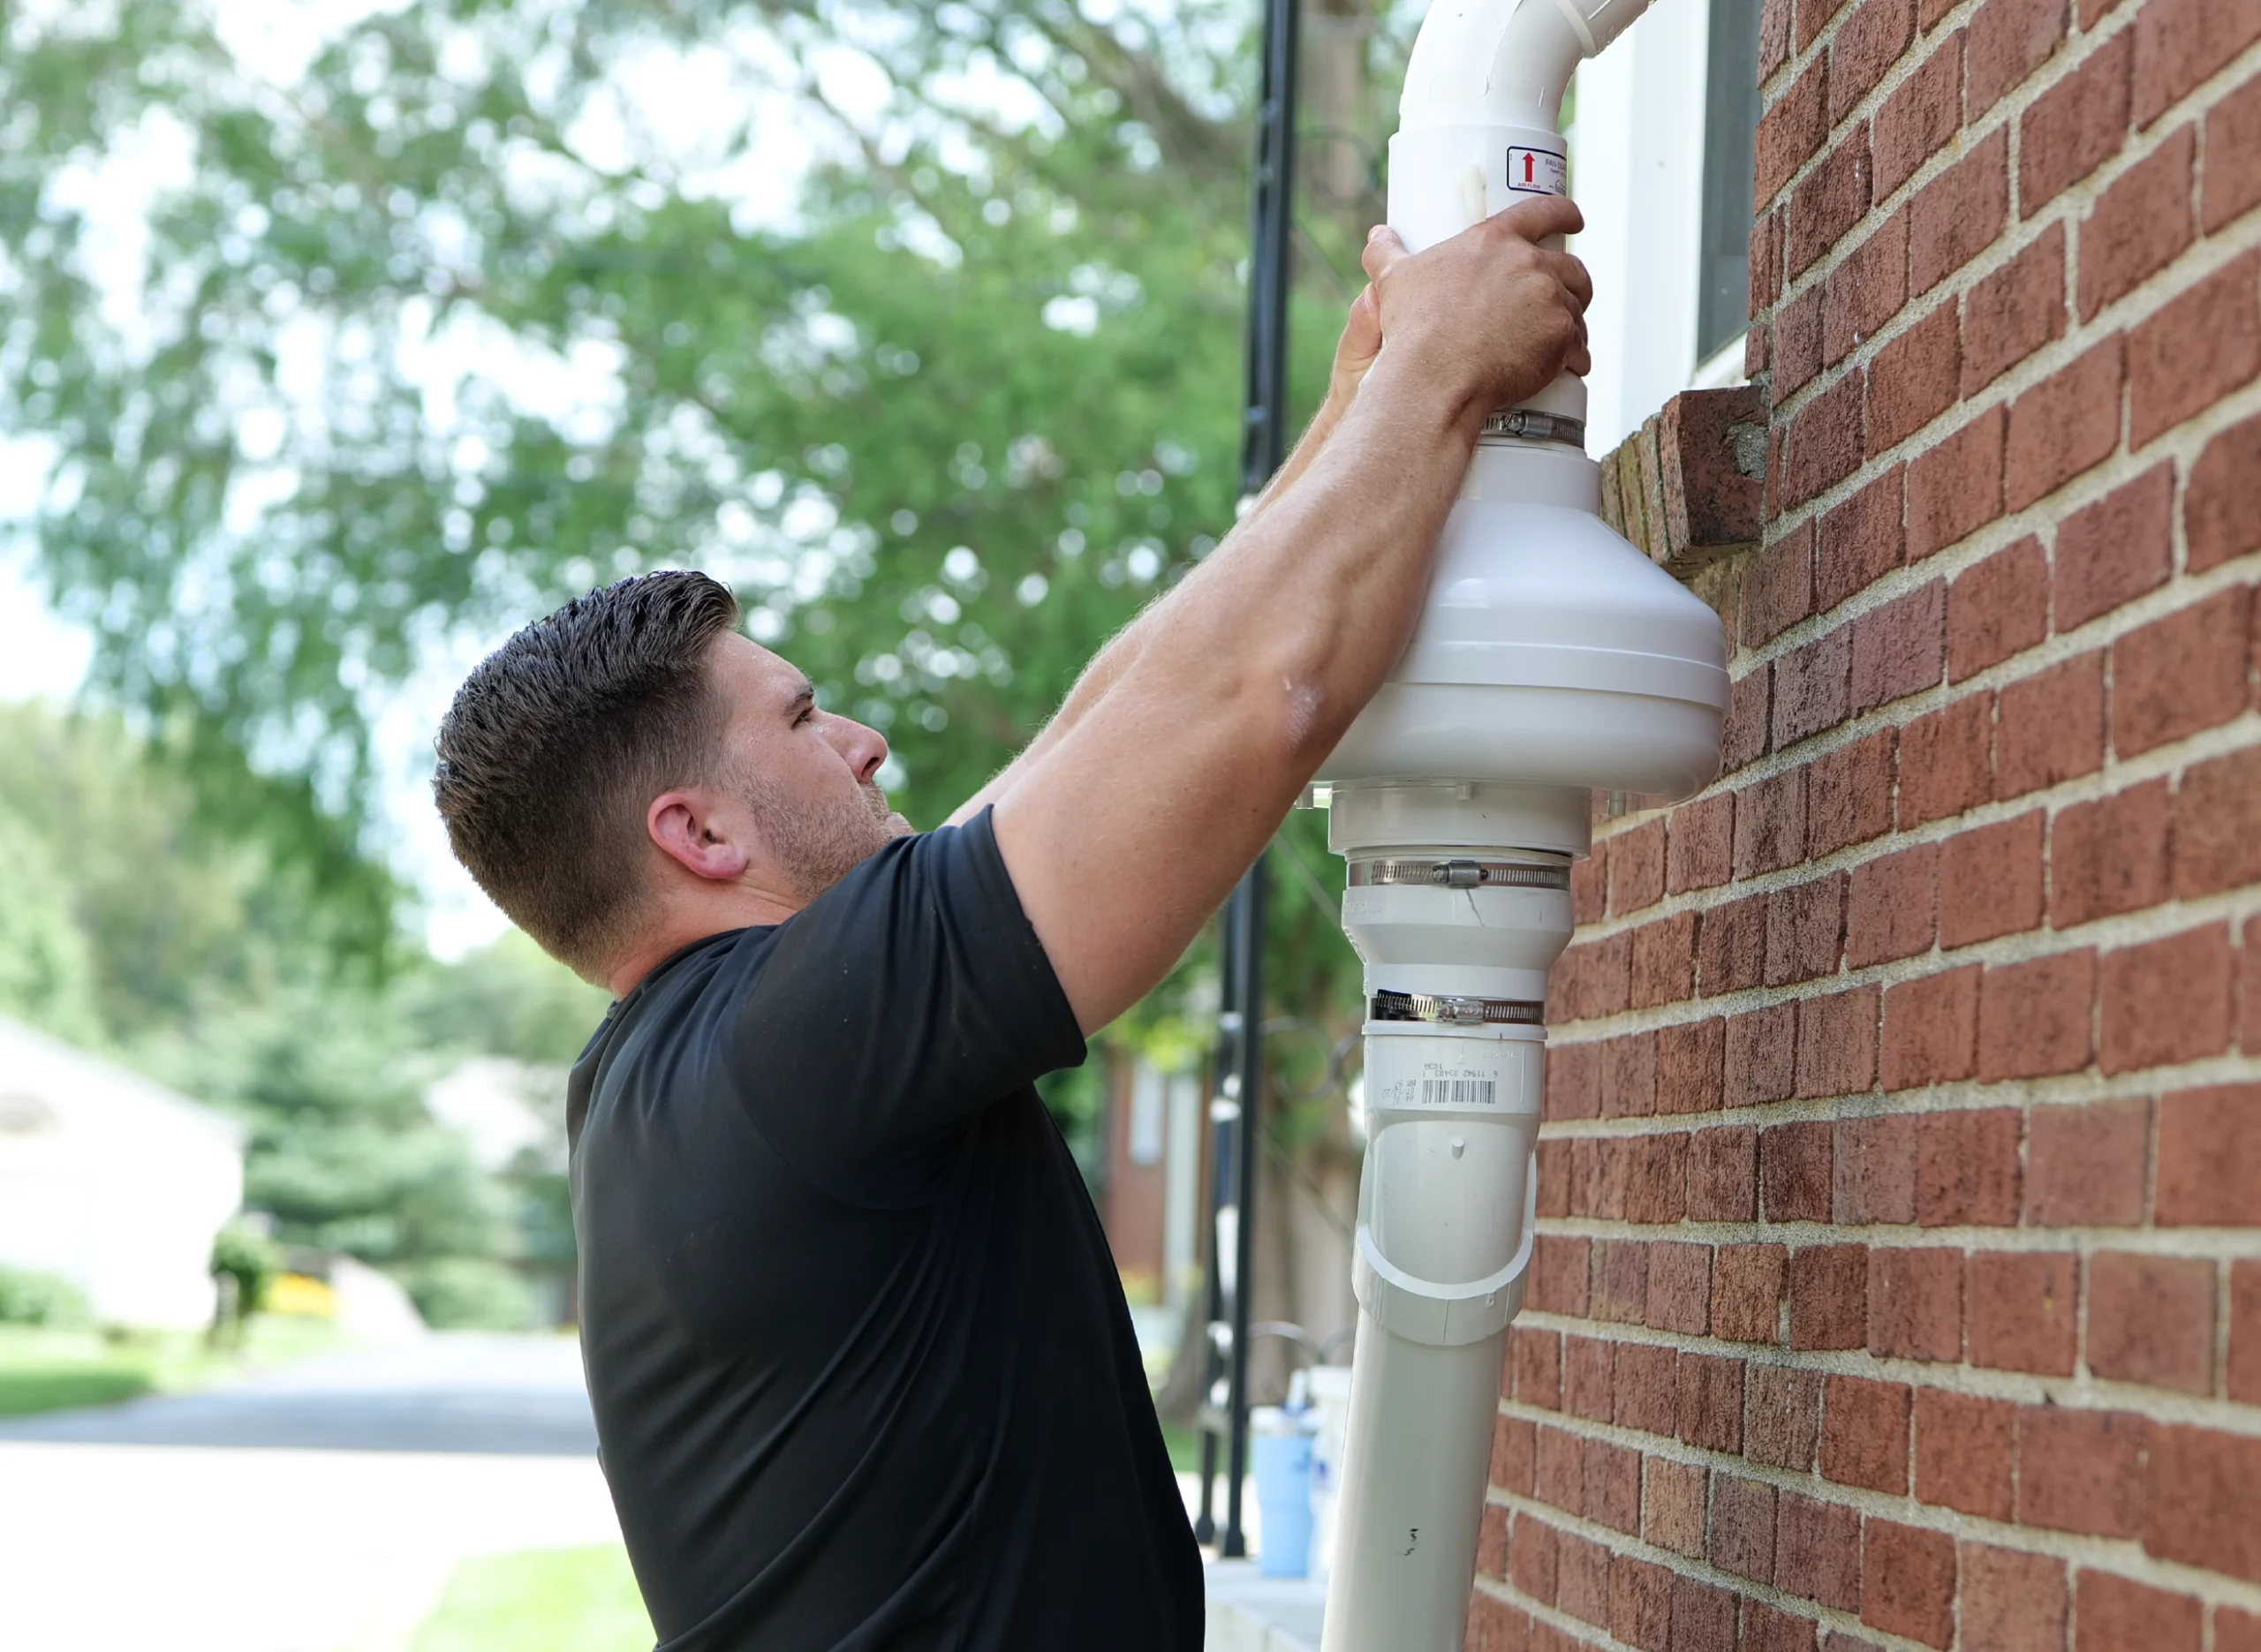
Anti-vibration couplers can help isolate the fan from the PVC vent system and reduce vibration transfer. Installers should also make sure the piping is properly supported and positioned so that it does not create unnecessary noise inside the home.
This is particularly important when vent piping passes near bedrooms, offices, living rooms, or other frequently occupied areas.
Review the Installation Environment
Fan location can expose equipment to heat, cold, moisture, sunlight, and other outdoor conditions. Confirm that the selected model is approved for the intended location and follow the manufacturer’s placement instructions.
Installers should also address conditions that could shorten fan life. Water accumulation, debris, incorrect drainage, or foreign material entering the vent system can interfere with operation and damage internal components.
If an existing fan failed because of moisture or another system problem, replacing the fan without correcting the underlying issue may lead to another premature failure.
Test the System After Installation
Installing the fan is not the final step.
Connections should be checked for proper fit, the fan should be observed for unusual sound or vibration, and the system’s pressure indicator should be reviewed to confirm that suction is being produced.
Most importantly, radon testing should be performed according to applicable procedures after mitigation work. The purpose of the system is not simply to make the fan run; it is to reduce indoor radon concentrations.
For replacement work, follow-up testing is equally important. A new fan may restore system operation, but testing helps determine whether the complete mitigation setup is still performing as intended.
Choose Radon Equipment With the Entire System in Mind
The right radon fan should fit the piping, provide suitable suction and airflow, support continuous operation, and match the conditions in which it will be installed. Contractors and homeowners should avoid choosing equipment by CFM or connection size alone. Reviewing the full system before installation can lead to a better-performing setup and fewer problems later. For residential airflow and radon mitigation products backed by clear technical specifications, visit Suncourts and review the available options for your next installation or replacement project.